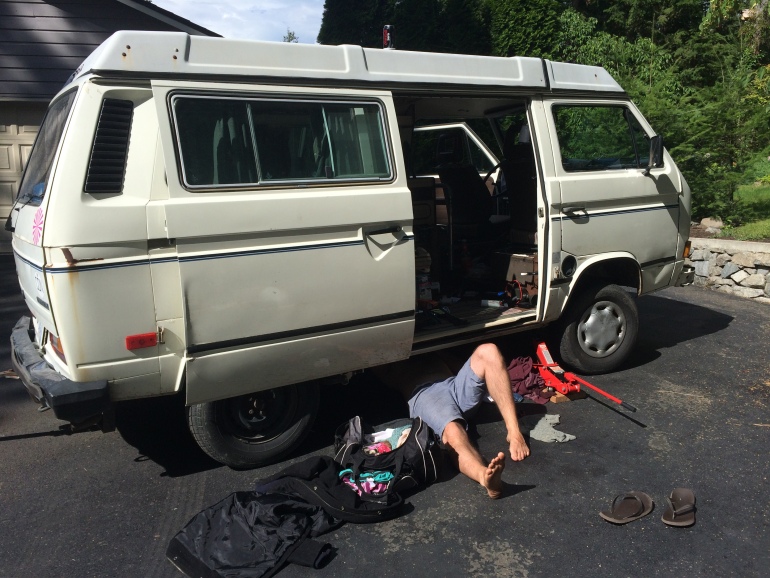
So your van is making a loud humming noise and you’re wondering what it is. She’s also having trouble (more than usual) accelerating up hills. It might be time to check your fuel pump and filter.
Tools Needed:
Difficulty – 3/5
Time Needed – 20 minutes
It goes without saying this is going to be a messy job. No matter how you spin it you are going to get fuel on you, at least from my experience. Wear clothes that you are willing to never wear again. You are going to want to start by gathering all of the equipment you’re going to need. Obviously, once you start you are not going to be able to drive anywhere.

As you may know, we have a 1984 Volkswagen Vanagon. Our particular model has a metal shroud protecting the engine (essentially a metal plate). It’s held on by a dozen or so screws and you won’t be able to do anything with it on.
Start by clamping. You’re going to have to decide if you want to change both the fuel pump and filter. You’re clamp location is dependent on this. If you’re going to do both, you are going to put a clamp just past the fuel pump closest to the engine, and one on the line on the fuel tank side of the fuel filter.

Our van has a 10mm bolt that secures the fuel pump to the frame of the van. Remove this and take the pump out of the holder. Once you have your clamps set up it is time to test them. I did this by slowly backing off the clamps for the fuel filter. You will know quickly if your clamps are tight enough. If fuel is not flowing out your clamp is ready. Some books say to start your engine while the clamps are on to use up the fuel in the lines. I have tried with and without doing this – it works way better to use op the fuel. Needless to say, there is going to be extra fuel if you don’t.
Once you have your clamps set it is a matter of undoing the clasps that secure your pump and filter, removing the old fuel pump and filter and replacing them with the new ones. Please, please, please make sure you look at the little arrow on the fuel pump and filter. It tells you which way the fuel flows. Make sure that the arrow is pointing towards the engine. I’m not sure what happens if you don’t aim it the right way, but it can’t be good.
So you have the little arrows pointing the right way (towards the engine) and have put the fuel pump and filter back together. The clasps that secure the pump and filter should be snug but not too tight. I test this by tightening them to where I think is good and trying to pull the lines off (not too hard though).

Now comes the moment of truth. Time to take your clamps off and see if you have any leaks. Same as when you put them on, start with the clamp closest to the fuel tank. Slowly release the clamp while looking for leaks around the newly replaced fuel filter and pump.
If the fuel holds you are ready to start your van and test your work. Keep in mind that it might take a few cranks to get it working since your fuel pump hasn’t had fuel flowing through it yet.
Good luck. If you need any help just leave a comment!


